Saturday, May 30, 2015

Anniversary Flowers

Hello everyone!! I'm here to share another anniversary card that I finished this week. It took me quite some time to make this card, mainly because I was lost as to how to make it :) Halfway through the card, I thought of scrapping it and doing it from start. But then I thought if adding few flowers and it made all the difference :)

Here is my card.


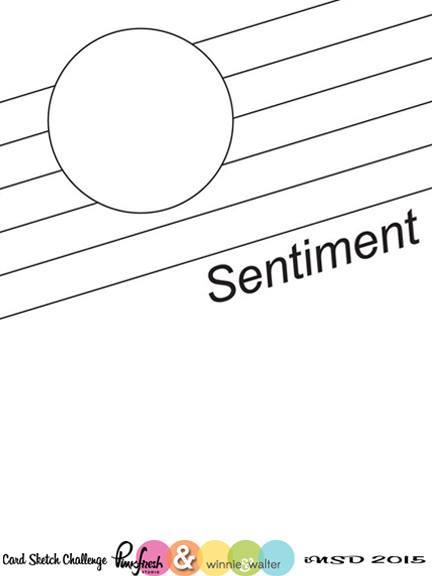
I cut out the lattice pattern on my Cricut with yellow paper. The cut file is from Bird's cards. I adhered it to the white card base.

I've been watching Emma Lou's (from Heartfelt Creation) video on how to shape a flower again and again. And each time I'm amazed at how beautifully she makes them. I was inspired by the video and thought of trying one of the flowers ( I really want to try all the flowers. I really need 48 hours in a day!! LOL!!) After few not very successful attempts and repeated viewing of the video, I made these flowers. The cut file is one of the free ones in Cricut Craft Room. The pollen and leaves cut files are from Bird's cards. I shaped the leaves as well.


The sentiment is hand written.


Do let me know your thoughts and comments.

Submitting this to:

Friday, May 29, 2015

Happy Anniversary

Hello everyone!! I'm back after a short break. And I have few anniversary cards to share, which I'll be doing one by one.

The first one is a CAS Anniversary card.


I used a 6x6 sheet from the DCWV Embossed White paper pad. I sponged it with Tsukineko VersaMagic Mauve ink. I used the same ink to sponge the sides of the card base as well.


The die cut is from my stash. I sponged it with the same ink. The sentiment is hand written and heat embossed. The ribbon and brad are from my stash.

Please let me know if there is any efficient way of inking an embossed paper. I'm not satisfied with this result. Do tell me your thoughts and comments. Thanks for stopping by today.

Submitting this to:

Wednesday, May 6, 2015

Thinking of You

Hello everyone!! I'm here to post a CAS card that I made today.


I cut out the lattice design using my cricut. I used a cut file from Bird's cards and modified it to fit my card. I used black paper for the lattice.


The heart is a stamp from the CTMH Family is Forever stamp set. I stamped it on black paper and heat embossed with gold powder. I then fuzzy cut it and used a foam tape for some dimension. The sentiment is stamped using stamps from the Winnie & Walter - The Big, The Bold and You stamp set. I added a few sequins from my stash.

Thanks for stopping by. Do leave your thoughts and comments.

Submitting this to:


Sunday, May 3, 2015

Floral Happy Birthay

Hello Everyone!! I'm posting this in my blog after a very long time. Like I had mentioned in my previous post, I had gone to India for a little more than 2 months. As soon as we came back, me and my daughter had cold and fever. Now both of us are doing good. So I decided to work on my craft table. And here's what I made.


This is a pretty new style for me. I have not made many cards with pattern papers and layers. So this is indeed a giant leap for me, from the CAS style. I sponged the edges of a white cardstock with VersaMagic Oasis Green ink. The pattern paper is from Colorbok - Delilah paper pad. The white embossed paper is from the DCWV Embossed Paper pad. The other white panel on the bottom right is cut from my Cricut using the Stitched Frames by Inspired By Stamping (this was released as a freebie in one of their newsletters (You should check out this month's free digi. It's very beautiful). I used VersaMagic Oasis Green ink to color the edges of this frame as well. The pearls are from my stash.


The center panel is a die cut that I had in my stash. Again, the edges were inked with VersaMagic Oasis Green ink to match with the color scheme. I stamped the sentiment from a stamp set that a dear blog friend Holley of Holley's Blog had sent recently. I again used the VersaMagic Oasis Green ink for stamping and embossed it with clear powder.


The flowers and buds are handmade. I used my flower punch and ear buds. The leaves are die cut. I enjoyed making them and they did come out very well.

Edit: Adding a few more photos.


Thanks for stopping by and please do leave your comments and suggestions.

Submitting this to: